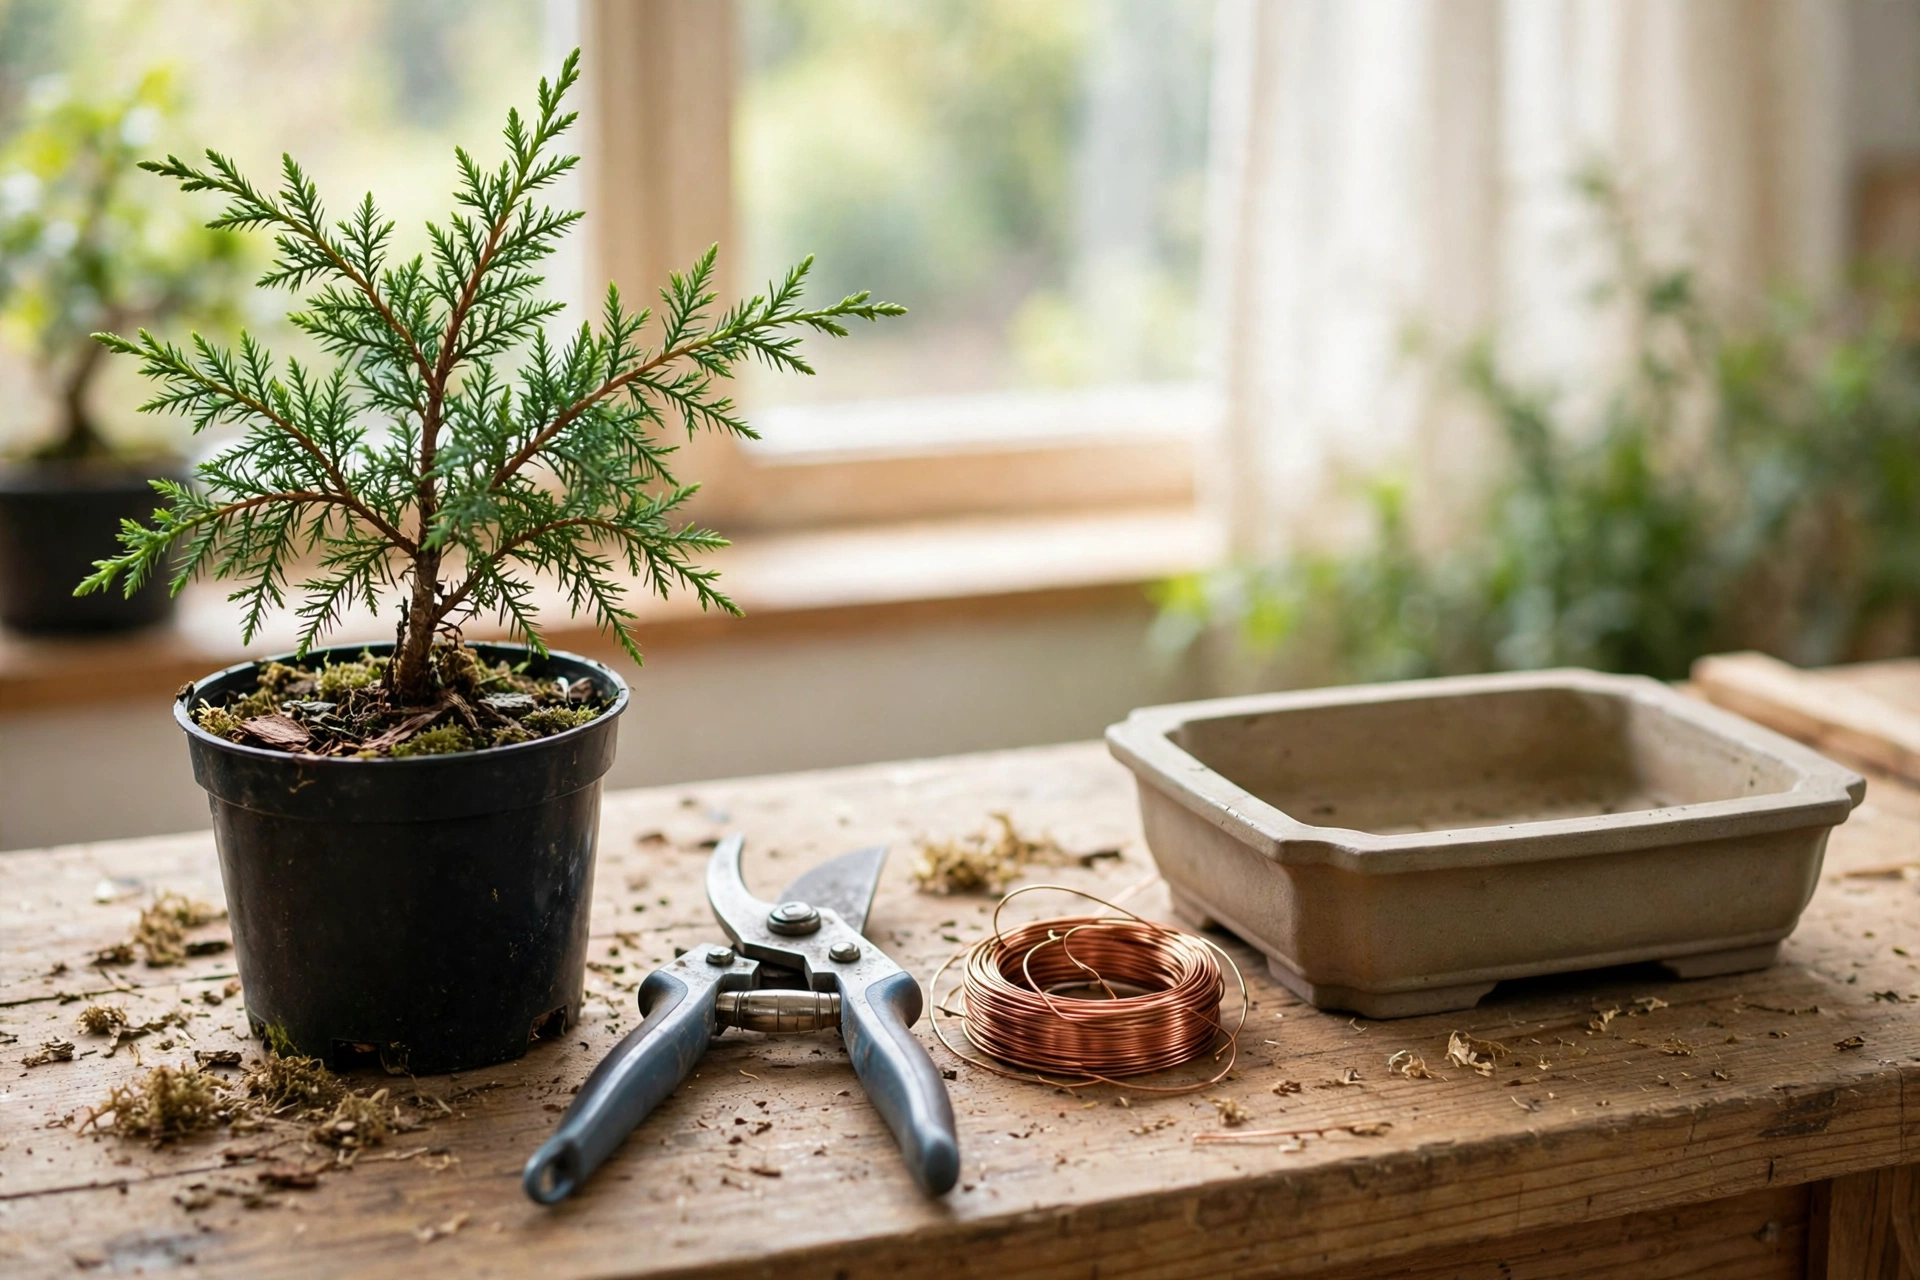
Learning how to make a bonsai from a nursery tree is one of the most practical ways to begin bonsai. Instead of starting from seed, which takes many years, or buying a finished bonsai, which can be expensive, you can buy an ordinary young tree from a garden center. Then you shape it gradually over several seasons. Nursery stock bonsai projects are affordable and forgiving.
A nursery tree is not yet a bonsai. It is a regular young tree grown for landscaping, in a tall plastic pot. Your job is to select a tree with good raw material, give it a clear design direction, and work on it in stages. A common beginner mistake is to prune, wire, repot, and root-prune the same tree on the same afternoon. A tree can usually survive one major operation. Piling every job together can weaken it badly.
Why Start with a Nursery Tree?
A nursery tree gives you something a seed cannot: a trunk that already has some thickness. It also gives you branches to choose from and roots to work with. You can turn the pot, look at the trunk line from every angle, and decide whether it has potential. That makes nursery stock a good teacher.
Nursery trees are also easy to replace if a project does not work out. If you choose a common species, such as a juniper, pine, maple, or elm, a replacement usually costs little. That lowers the pressure. You can experiment, make a mistake, learn from it, and try again.
Choosing the Right Species
Species choice comes before style choice. A tree that cannot thrive in your climate will struggle no matter how well you prune it. Before you visit a nursery, decide whether you have a sunny outdoor space, a sheltered balcony, or only indoor space.
Temperate species, such as junipers, pines, maples, and elms, generally need to live outdoors for most of the year. They need seasonal change and usually decline indoors. Tropical and subtropical species, such as ficus, are more suited to warm indoor conditions.
Within those limits, look for species known to respond well to bonsai work. Good beginner choices include juniper, Chinese elm, Japanese maple, pine, and ficus, depending on your climate. Ask nursery staff for the exact species and cultivar, not just a common name. Also consider growth rate and leaf size: fast growers thicken sooner but need more pruning.
What to Look for in Nursery Stock
When choosing nursery plants for bonsai, resist the urge to pick the tallest or the fullest tree. For bonsai, you are looking for character in the lower part of the tree, not height or a perfect conical shape. Walk around each candidate and check the features below.
Trunk Movement and Taper
Trunk movement means the trunk is not perfectly straight. A gentle curve, a slight lean, or a change of direction gives the tree visual interest and suggests age. Taper means the trunk is thicker at the base and gradually thinner toward the top. Good taper is difficult to create quickly, so a tree that already has some is a strong candidate.
Nebari, or Surface Roots
Nebari is the visible spread of roots at the base of the trunk, sometimes called the root flare. In bonsai, good nebari makes the tree look stable and grounded. At the nursery, gently move aside the top layer of soil to see the roots. Look for roots that spread outward in several directions, rather than one thick root going straight down or a tangle circling the pot.
Branches
Look for branches that emerge at different heights along the trunk, on different sides, rather than several branches coming from the same point. Branches that grow in a whorl, all from one level, create a swollen area and make it hard to build a balanced structure. The lowest branch is especially important, as it often sets the tree’s overall height and balance. Also check that branches are healthy and have side shoots closer to the trunk.
Overall Health
No amount of good trunk movement compensates for a sick tree. Leaves or needles should be the normal color for the species and season, without large patches of yellowing, browning, or spots. New growth should look fresh and vigorous. Avoid trees with many dead branches or wilted foliage. Check for wounds, cracks, oozing sap, webbing, sticky residue, or small insects on the undersides of leaves.
Inspecting Roots and Pests Before You Buy
Look at the drainage holes at the bottom of the pot. If thick roots are circling tightly or pushing out of the holes, the tree may be root-bound.
If allowed, slide the tree partway out of its pot to check the root ball. Healthy roots are usually firm and pale or light brown, depending on the species. Dark, soft, mushy roots suggest root rot; leave that tree behind. Check for pests at the same time: look under leaves, along stems, and in branch joints for aphids, scale insects, spider mites, or mealybugs.
Planning a Design Before You Cut
Spend time looking at the tree, turning it slowly, and deciding which side will be the front. The front is the viewing angle that shows the trunk movement, the nebari, and the branch placement to best effect.
Once you have a likely front, sketch the tree or take photographs from several angles. Sketch the trunk line and the branches you plan to keep or remove. Mark the height you are aiming for. A shorter tree with good taper usually looks more convincing than a tall tree with a thin, straight trunk. Write down what to do this season and what to leave until next season.
How to Make a Bonsai from a Nursery Tree: The First Stages
The steps below describe a typical first year for a healthy nursery tree. Timing depends on your species and climate, so treat this as a sequence, not a calendar. If you are unsure about the best season for major work on your species, check species-specific guidance first.
1. Let the Tree Settle
Give the tree a few weeks in its nursery pot before any major work, unless it is clearly root-bound or in failing soil. Place it in a suitable outdoor position, water it by checking the soil, and watch how it responds. Clean up only what is clearly dead.
2. Do the First Structural Pruning
Structural pruning removes branches that will not fit your design, unlike maintenance pruning, which only keeps a developed bonsai in shape. Remove branches that cross the trunk, grow toward the front, or share the same point as a branch you want to keep. Work slowly, one branch at a time.
3. Reduce the Height if Needed
Shorten the trunk to a point where a side branch can become the new leader. That branch then grows upward and continues the trunk line, creating taper and movement. Do not shorten a tree drastically and repot it in the same session, because the tree needs foliage to recover.
4. Wire Only What Needs Wiring
Wiring sets branch positions that pruning alone cannot achieve. For a nursery tree, you may need to wire only one or two key branches in the first year. Use aluminum wire, anchor it properly, and bend slowly.
Staged Pruning and Repotting
Work in stages: do one major job, let the tree recover, then do the next. For a nursery tree bonsai project, a realistic sequence is structural pruning in the first growing season, repotting into a training pot in the following repotting season, wiring key branches later, and refining gradually in the years after that.
When the time comes to repot, gently untangle or trim circling roots and place the tree in a training pot with a free-draining bonsai soil mix. Do not bare-root a tree unless the species tolerates it.
Avoiding Excessive Simultaneous Stress
Every major bonsai operation is a stress. Pruning removes foliage the tree uses to make food. Wiring can damage bark. Repotting disturbs roots that absorb water and nutrients. On their own, a healthy tree can handle each of these. Together, in one session, they can overwhelm it. Do no more than one major operation at a time, and wait for clear signs of recovery before the next one. If your tree is already stressed by pests, disease, or drought, postpone structural work until it is healthy again.
Common Mistakes
- Doing everything on day one. Stage the work and let the tree recover between operations.
- Choosing the tallest tree. A shorter tree with movement, taper, and a low branch is usually better.
- Ignoring the roots and the graft. Inspect the base, roots, and graft before you buy.
- Keeping a temperate tree indoors. Junipers, pines, and maples generally need to live outdoors.
- Cutting without a plan. Decide on a front, a height, and a style first, then cut.
- Leaving wire on too long. Check wired branches often and remove wire that bites in.
- Moving to a tiny display pot too soon. Use a training pot while the tree is still developing.
Frequently Asked Questions
How long does it take to turn a nursery tree into a bonsai?
A tree with good trunk movement and taper may start to look like a bonsai within two to three seasons.
Can any nursery tree become a bonsai?
Not every nursery plant is good material. Look for a suitable species, trunk movement and taper, visible surface roots, and branches at different heights.
Should I repot a nursery tree right away?
Not usually. Unless the tree is severely root-bound or in waterlogged soil, let it settle first and do structural pruning before repotting in the right season.
What size pot should I use for a nursery bonsai project?
Use a training pot that is wider and shallower than the nursery pot, but still large enough for the roots to grow.
Do I need special tools to start a bonsai from nursery stock?
You need sharp, clean pruning shears or concave cutters, a saw for thicker branches if needed, and wire and wire cutters if you plan to wire branches.
Can I keep my nursery bonsai indoors?
It depends on the species. Ficus can live indoors with bright light, but temperate species such as juniper, pine, maple, and elm generally need to live outdoors.
Conclusion
Creating a bonsai from a nursery tree is a practical and rewarding beginner bonsai project. Choose a healthy bonsai starter tree suited to your climate, inspect its roots and graft, and plan your design before you cut. Work in stages, let the tree recover between operations, and give it time to grow strongly. Development may take several seasons, but that time builds trunk thickness, taper, and fine branching. Visit a nursery with this checklist and find one healthy tree.